How To Make 3D Animation: Step-By-Step Guide
by Web Team—6 min read
Creating three-dimensional (3D) animation is an exciting (and occasionally humbling) journey that turns ideas into visuals people actually stop scrolling for. Whether you’re building a product explainer, leveling up your brand’s creative, or planning a spot that’ll run on Connected TV, understanding the workflow helps you move faster and ship cleaner work.
Ready to learn more about how you can create your own? Here’s how to make 3D animation that engages and captivates your audience.
What Is 3D Animation?
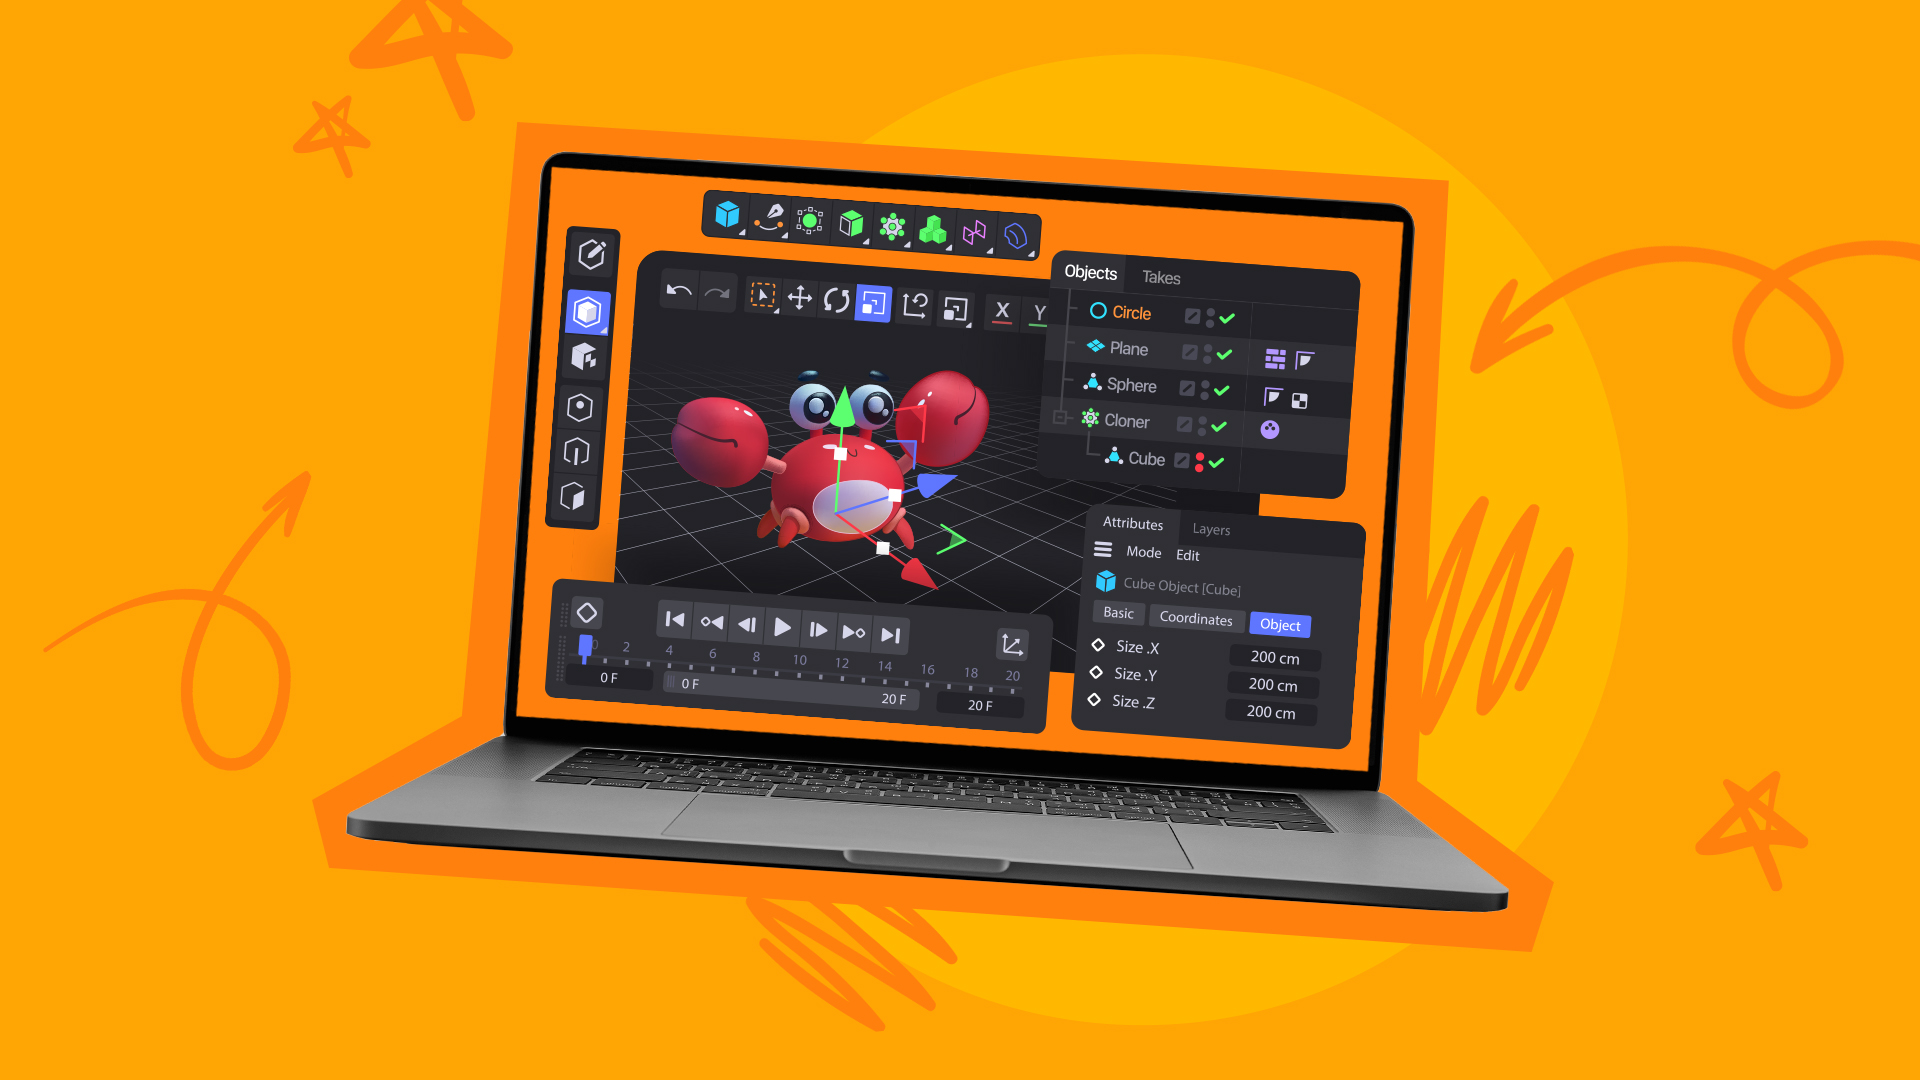
3D animation is the process of creating moving images in a three-dimensional space using specialized software. Instead of “drawing” each frame the way you might in 2D, you’re building and moving digital objects that have width, height, and depth.
Sometimes, animators also use motion capture (mocap), where human performances are recorded and mapped onto digital characters. It’s one of the fastest ways to create realistic movement, especially when you need natural body mechanics or subtle performance beats.
3D animation adds depth, which has made it a popular choice for movies, video games, advertisements, and virtual reality experiences. Thanks to modern animation tools, 3D content creation is no longer reserved for big-budget studios. Now, even smaller video production companies and creators can make 3D animation.
With that said, here’s a look into the 3D animation process, which can be broken down into the following ten key steps:
1. Develop Your Concept and Script
Work broad to specific. Start with the core concept, then tighten it into a purpose, tone, style, and runtime.
A few questions that keep projects from drifting:
- What’s the single takeaway you want the audience to remember?
- What should they feel — curiosity, urgency, confidence, relief?
- What’s the call-to-action (CTA) and when does it show up?
Once you have a solid concept, start creating the script. Outline your narrative, dialogue, and action. Your script serves as the foundation for your animation.
While it’s okay to make minor changes later, shifting the direction of your storyline can cause you to go over your video production timeline and budget. Take the time to solidify your idea and script before moving on to step two.
2. Create a Storyboard and Plan Your Scenes
Now, it’s time to visualize your ideas through storyboarding. A storyboard is a sequence of sketches or digital frames that represent key scenes in your animation. Each frame needs to include details like:
- Character positions
- Actions
- Camera angles
- Major transitions
Storyboards do two important things: they keep your pacing honest, and they surface problems early (like “we have 12 ideas in a 15-second spot”). If you’re building 3D for marketing, that second one matters a lot.
3. Design and Model 3D Assets
You’ll need to design characters, props, and the environments where the action will take place.
Modeling is where you create the digital geometry, otherwise known as the 3D “shape” of everything in your scene. Complexity should match your goal. A stylized brand mascot may need clean shapes and bold materials. A photoreal product shot may demand tight details, high-quality bevels, and physically accurate proportions.
Pro tip: if the product is the hero, model it first. Everything else can support it.
4. Rigging Your Characters for Animation
Rigging is the process of creating a digital skeleton for your 3D models. If you’re animating a character, you’ll rig:
- Arms, legs, hands, feet
- Spine and neck
- Facial controls (if you need expressive performance)
Your rigging setup should allow them to move naturally during animation. The more complex the motion, the more your rig has to hold up, especially around joints. Test early with extreme poses (squats, twists, big reaches). If it breaks in testing, it’ll break even harder at 2 a.m. the night before delivery.
5. Apply Textures and Materials to 3D Models
Now, it’s time to add textures and materials to bring your models to life. The material settings of your animations will define how each object interacts with light.
Texturing adds:
- Color
- Patterns
- Surface detail (scratches, pores, fabric weave)
Example: a shiny metallic robot isn’t “silver paint.” It’s a combination of reflective properties, roughness variation, and highlights that behave correctly as it moves. That’s what makes it feel real.
6. Set Up Lighting and Environment for the Scene
Lighting and environment play a key role in setting the mood for your animation. Whether it’s a sunny outdoor scene or a dramatic, shadow-filled room, lighting can make or break your content.
Choose lighting based on the story you’re telling:
- Bright, even lighting for clarity and product focus
- Strong contrast for drama and emphasis
- Soft, diffused light for a premium, cinematic feel
Experiment with different types of lighting, such as directional, point, and ambient lights, to achieve the desired effect. Additionally, create or import background environments to complement your scene. This might include landscapes, buildings, or even abstract designs.
7. Animate Your Characters and Objects
Animating your models is one of the most important and enjoyable parts of the process. You’ll manipulate characters and objects frame by frame to create movement.
Suppose that your character should be jumping. You’ll animate movement by defining key poses over time. For a jump you’d block:
- Crouch
- Takeoff
- Mid-air
- Landing
Your software interpolates the in-between frames, but you’re still responsible for timing, weight, and physics. The details matter:
- Heavier objects accelerate and stop more slowly
- Quick movements need clean arcs
- “Floaty” motion usually means your spacing and timing need work
If it’s an ad, remember: motion should serve the message. Animation that looks cool but competes with the CTA is still a miss.
8. Add Camera Movements and Angles
Camera movements and angles add cinematic flair to your animation. They’re storytelling tools, not just viewpoints.
Use camera moves to guide attention:
- Pans to reveal information
- Zooms to intensify emotion or emphasize product detail
- Tracking shots to add momentum
Fast camera movement can add urgency in action moments. Slow pushes can add weight and intention. The best camera work feels motivated, like the viewer is being led, not tossed around.
9. Render the Animation Frames
Rendering is the process of generating the final images or frames from your 3D animation. This is where lighting, textures, and camera work get “baked” into an output you can actually deliver.
Rendering can be time-consuming, especially with:
- Complex lighting setups
- High-resolution textures
- Heavy effects (volumetrics, depth of field, motion blur)
To keep things moving, choose settings based on where the animation will live. A 16:9 CTV spot and a vertical social cut may need different render targets, not just in aspect ratio or video specs, but in sharpness, contrast, and readability.
10. Edit and Compile the Animation in Post-Production
Once you’ve rendered all your frames, it’s time to make any last-minute edits in post-production. This is where you add finishing touches to give your content a polished look, by doing things like:
- Assemble and trim scenes
- Sync audio (VO, music, SFX)
- Add transitions, titles, and overlays
- Do color correction and color grading
- Add finishing VFX (glows, particles, compositing polish)
This is also where you make the piece feel like a real ad, not just a cool animation test. Pacing, clarity, and brand cues (logo, product name, CTA) should all land cleanly.
Need more help? Check out these video editing tips.
High-Quality Video Production at Scale
You don’t need a studio or complex software to bring motion to life. With QuickFrame AI, you can transform scripts, storyboards, or static visuals into dynamic, professional-quality videos, complete with music, narration, and your brand’s look and feel. Once finished, publish directly to MNTN, TikTok, Meta, or Google Ads Manager to showcase your 3D-inspired storytelling across every screen.
Turn your next creative concept into motion with QuickFrame AI.
3D Animation Process: Final Thoughts
Learning how to make 3D animation may seem daunting at first. However, by breaking it down into manageable steps and leveraging resources like QuickFrame, you can make the process more accessible.
Now that you understand the 3D animation process, it’s time to get to work. Start small, experiment, and don’t be afraid to outsource tasks that are outside of your scope. Before you know it, you’ll be publishing awesome animated content.